- Home
- Best Cookie Projector
- Projector for Cookies
Projector for Cookies: How to Choose & Use One
Let's shine a little light on this whole cookie-projector thing!
So, you finally found the perfect cookie design. Yay! But “Oh man, how am I ever going to get THAT onto my cookie…In my dreams.”
As a cookier, we think we can conquer any design…that is, until we start dissecting the details. “Geez, I didn’t see all of those details before I started decorating!”
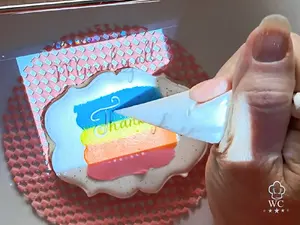
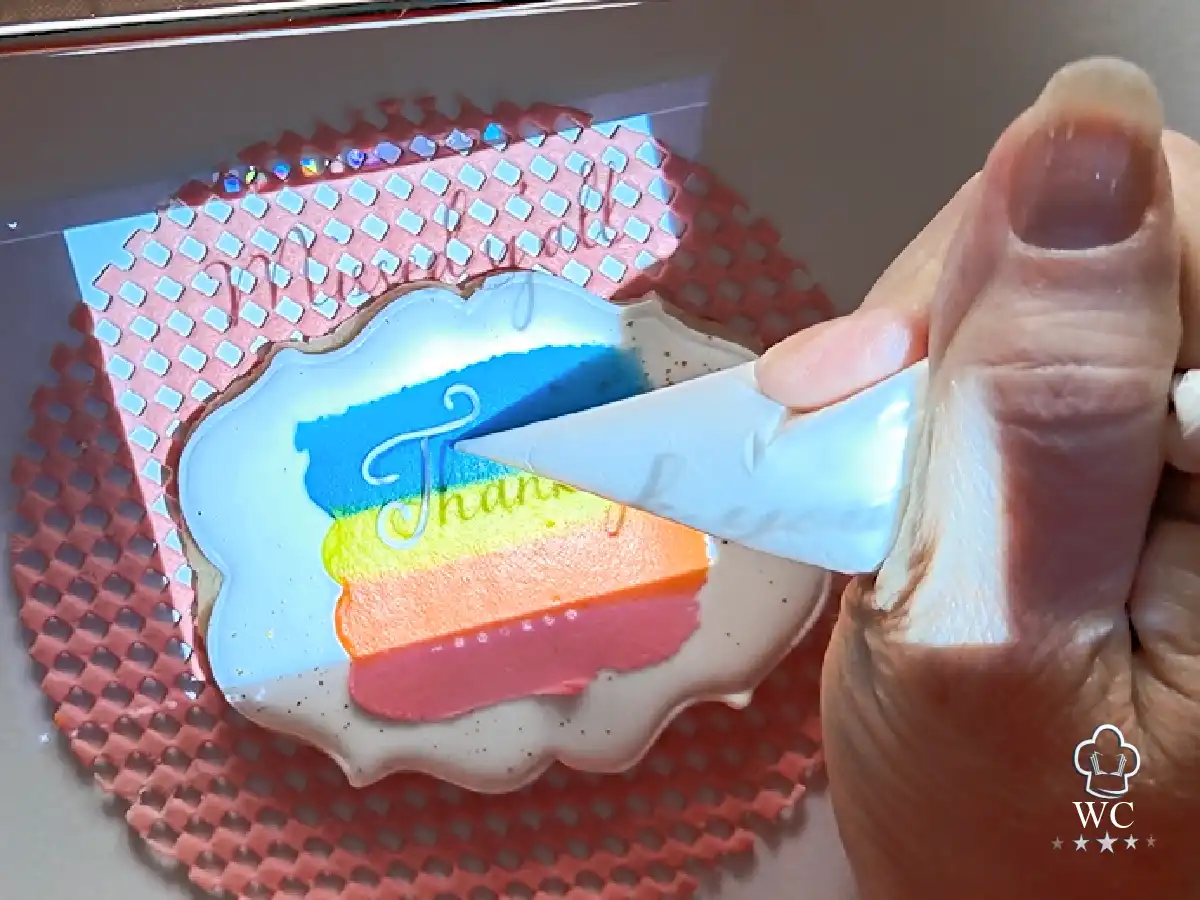
The beauty of a cookie projector is that it projects the image right onto your cookie, giving you a convenient guide while you decorate. It’s the perfect guide.
“As a pro cookier for nearly a baker’s dozen years, I’ve relied on cookie projectors for all sorts of designs.” Perhaps their real claim to fame is lettering, detailed designs, logos, and keeping that consistency when you have several and more of the same design.
Hey, don’t be nervous about using one. It’s easy, and did I say fun? Please do not think you have to be some amazing artist. You still have to be the cookie decorator. The projector just gives you a nice and convenient roadmap! (Trust me. Your piping bag and I have already discussed this.)
I'm a cookie decorator. I'm not trying to prove that I can draw a perfect circle with royal icing while standing on my head. That would be quite the picture!
What Is a Projector for Cookies?
A projector for cookie decorating is simply a small, handheld projector that displays the image or text directly onto your delicious cookie. Once you position the cookie underneath the projected image, you're ready to use it as your guide with a food color marker, icing, or whatever decorating technique you're using. Rarely will you have to adjust the focus. I never do.
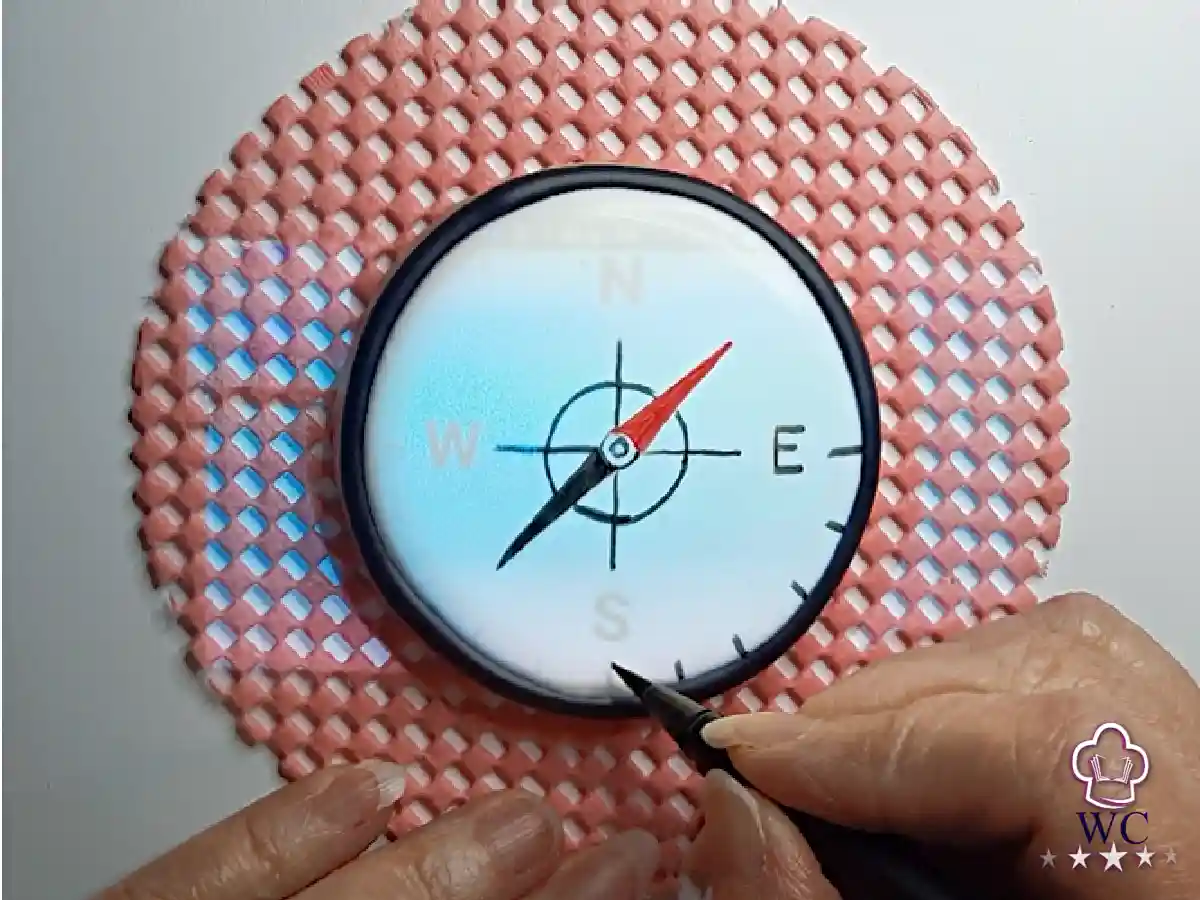
There you have it! No magic. No cookie-decorator handshake. Just a handy little piece of technology that makes a cookie decorator’s life a whole LOT easier.
We are sadly still waiting for the model that actually makes the royal icing behave. Until that wonderful dream comes true, you are still in the driver’s seat.
What it does do…
…it gives you the framework to decorate a masterpiece, so you can place your attention on your piping skills.
And music—I have to have my music.
A projector can help you:
- Get your design to the right size
- Place the design exactly where you want it
- Keep lettering and details consistent
- Reproduce the same design across multiple cookies
- Work with logos and detailed artwork
- Tackle designs that would be difficult to draw freehand
Why Do Cookie Decorators Use Projectors?
If you've been cookieing for long, BAM! Out of the blue, decorating can suddenly turn complicated FAST. Face it, we get over-busy and don't always have time to do our sketches and think the design through. Then what happens? That little beast of a blank cookie and piping bag taunts you for details.
A projector is your friend, especially when accuracy matters. It helps take the guesswork out of placement and design. Then what happens? The blank stares, the mind paralysis. They vanish…POOF!
A projector is especially handy when you're:
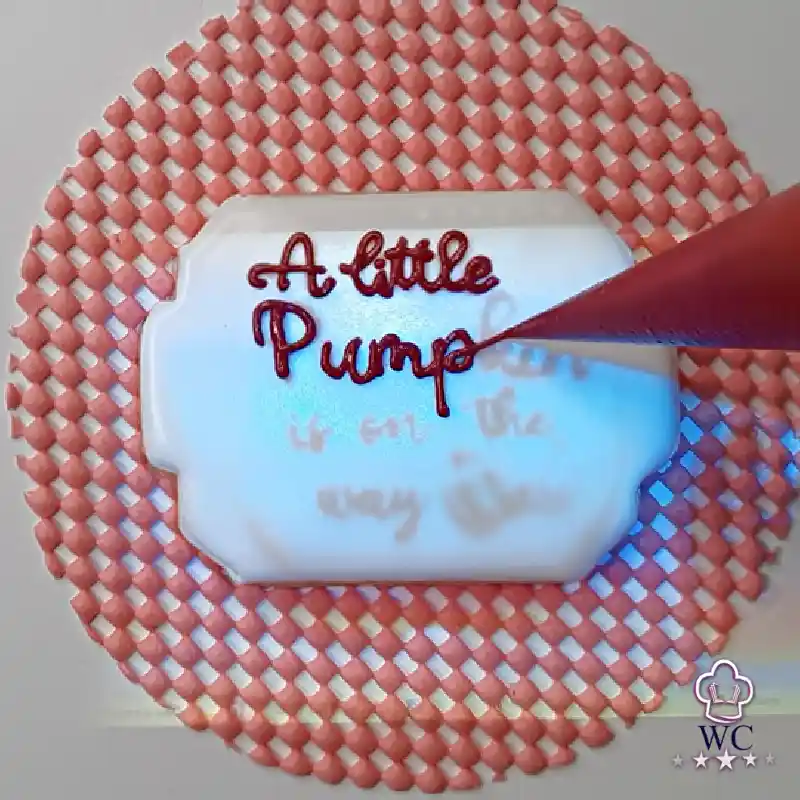
Working with lettering
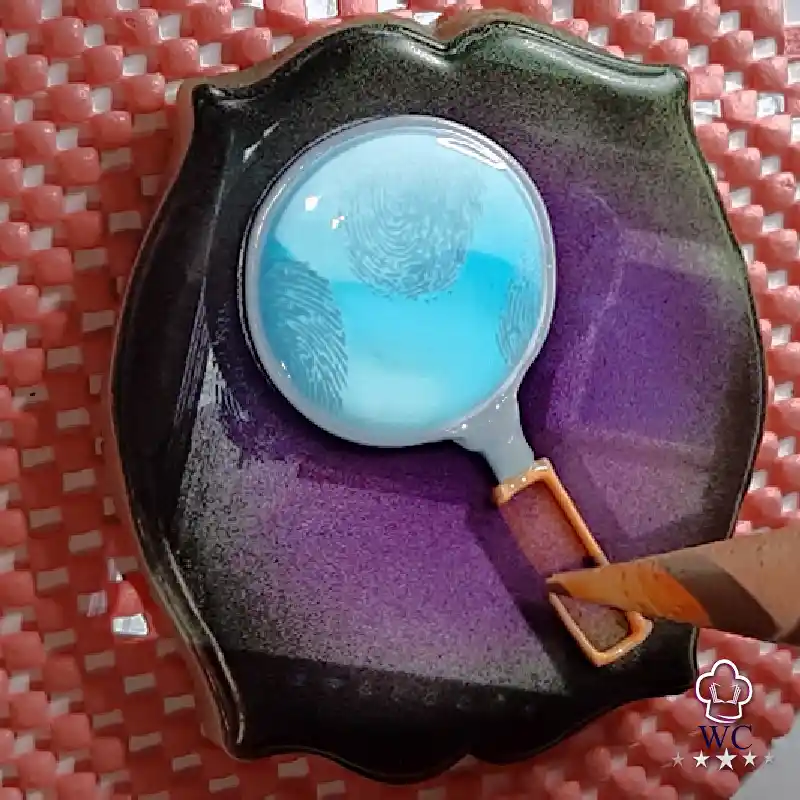
Getting lettering the right size, spacing, and placement can be tricky. A projector gives you something to follow instead of trying to freehand every letter and hoping it all fits. (Especially when the kids are talking while you're piping. Trust me, following a line is easier than figuring out where it goes!)
Decorating a detailed design
Some designs have so many little pieces that it's easy to lose your place. Having the design projected onto the cookie gives you a visual roadmap.
Making multiples of the same cookie
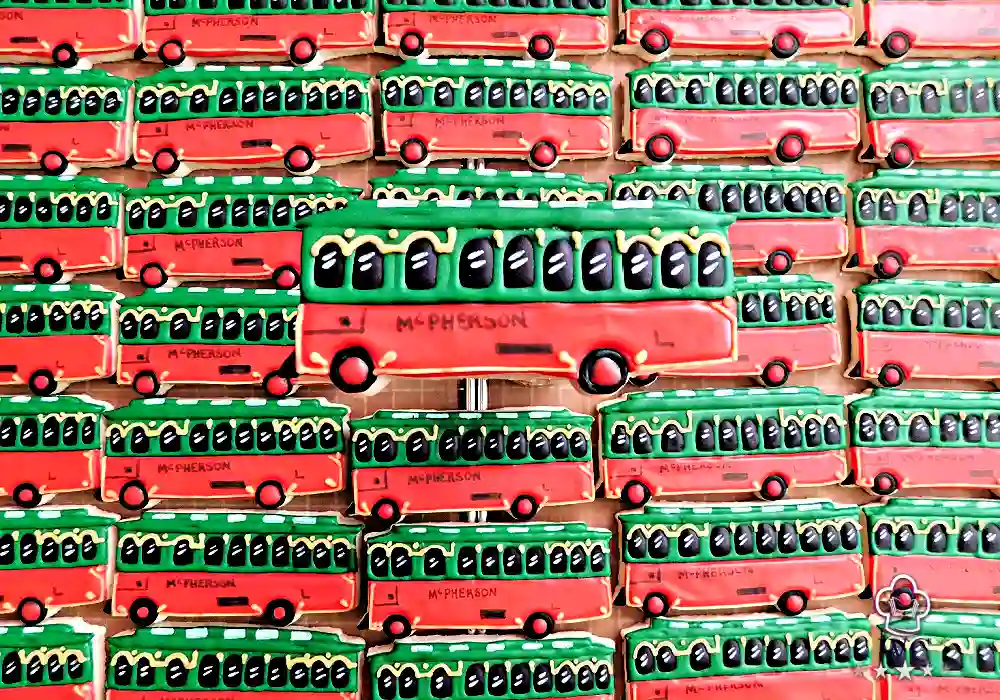
This is a big one. If you're making 12, 24, 50, or more of the same design, the projector can help you keep the placement and proportions consistent from cookie to cookie. Because let's be honest…after cookie number 17, your eyeballs may not be quite as trustworthy as they were on cookie number one. This is where my little friend really shines!
Working with logos
When somebody hands you a logo and says, “Can you put this on a cookie?” having a projector can make that job considerably easier. My answer: “Why yes, indeed.” Logos can be especially tricky because you want the design to look like the original. A projector gives you a guide for getting the size, placement, and important details where they belong.

Trying a design that's outside your freehand comfort zone
You don't have to be able to draw the design yourself to decorate it
successfully. The projector lets you use the artwork as your guide while you
handle the decorating.
You don't have to be an artist to use a projector. You just need to be the cookie decorator. The projector gives you the roadmap; you still get to do the fun part.
I can draw. I can pipe. I can decorate cookies. I can climb Mount Everest (well, I'm not that zealous). But if someone expects me to eyeball a complicated design and reproduce it perfectly 30 times, well…that's where my little projector buddy comes in.
Do You Really Need a Projector for Cookie Decorating?
If you are asking if it is mandatory for decorating cookies, no. Neither is a piping bag, but it sure makes the job easier!
Plenty of amazing cookies have been decorated without this precious tool. Not bragging, but plenty of mine were created before I ever owned one. So, mandatory? No. Majorly useful? Yes.

If you're a good artist, can eyeball your designs, and are gifted at centering, you may feel you don't need one just yet. If you can also make several cookies look nearly identical without one, well…you may be one of those people I secretly envy. 😂
BUT…
…if lettering makes you sweat a little, or your brain hurts from detailed designs, a projector can put you at ease and make decorating more relaxed and fun.
A projector may be worth considering if you:
- Struggle with getting designs centered or positioned correctly
- Have trouble keeping lettering straight or evenly spaced
- Don't feel confident drawing detailed designs freehand
- Make multiple cookies with the same design
- Work with logos or artwork supplied by customers
- Want to try designs that are outside your usual comfort zone
I'm not here to convince you that you need a projector. I'm here to tell you that if you find yourself fighting with placement, lettering, or complicated designs, you probably won't find anyone to slap a medal on your chest for making your life harder than it needs to be. I say that gently. 🥰
How to Choose a Projector for Cookies
Not all projectors are created equal. You can check the fancy home-theater projector sitting on your decorating table off your list. When you're choosing a projector for cookies, there are a few features that matter more than others. That's what I'm here for. I'll walk you through the points that can make choosing one a little stressful.
Size Matters
When you're decorating cookies, you don't need a giant projector taking over your workspace. A compact projector is much easier to position near your cookie and doesn't eat up precious decorating real estate.
For example, I have a drafting table for my workstation. Yes, it is a little generous in size! But I have precise placements for everything:
- Baking sheet of blank cookies on a turntable
- Laptop
- Icing bags on another baking sheet
- Decorating utensils
That does not leave much room for anything extra. I have my projector in a stationary spot and, thankfully, don't move it around.
Brightness
You want the projected image to be clear enough to see easily on your cookie. The brighter your decorating space, the more important projector brightness becomes. You don't need a projector bright enough for a movie theater, but you do want to be able to clearly see those lines while you're piping.
For me, I use a spare bedroom, and my work table is in front of two large windows. I love the view and being able to see out. Most importantly, this is also where I take my videos and photos, so I need that extra natural light. Because the room is so bright, I knew I needed a projector that could handle it. I use my projector either with the room light on or off—it doesn't matter. All of the details projected on the cookie are crystal clear either way.
Focus
A clear, sharp image is important when you're following tiny details or lettering. Look for a projector that gives you a crisp image without requiring constant adjustment.
Fortunately, I never have to adjust the focus on mine. Even if I did, it is super simple!
Throw Distance
Do not confuse this with the throw distance of a projector that doesn't cooperate 😂!
The throw distance we're talking about means how far the projector needs to be from the cookie to create the image size you want. Since we're working at a decorating table rather than projecting onto a wall, you want a projector that can ‘throw’ the image within about 1 ½ to 2 feet to the cookie.
In other words, you don't want your projector sitting halfway across the room just to get your cookie the right size.
Battery Life
Definitely consider the battery life for a portable projector. There are not many things more irritating in a cookier’s life than getting a partial design on a cookie and having the projector make its mind up to take a nap. AARGH!
I have used the battery. I have used it plugged in. Generally, though, I keep it plugged in because it has a dedicated spot on my decorating table. The battery gives me 2 1/2 to 3 hours of working time without shutting it off.
Connectivity
Think about how you'll be getting your designs onto the projector. Depending on the projector, you may be using Wi-Fi, Bluetooth, HDMI, USB, or screen mirroring. The best option is the one that works easily with the devices you already use.
I want to be able to get my design from my laptop to the projector without turning it into a technology project. (I've mentioned before that I'm not a techie gal.) I do not use my phone because it is mostly busy videoing.
Adjustability
You'll want some flexibility in positioning the projected image. Features such as image-size adjustment, focus, keystone correction, and the ability to angle or move the projector can make setup much easier.
So, projecting is only one side of the setup. Lining it up with the cookie is the other side.
Mounting Options
Depending on your setup, you may want to place your projector on a stand, tripod, shelf, or other stable surface. A mounting option can give you more flexibility when you're trying to position the image exactly where you want it.
There are different ways to mount a projector. For mine, I use an old frame-style mount I bought years ago. It is still like new and does a wonderful job. Depending on the projector I use, I also enjoy the kind that clips onto the table with an arm you can adjust in any direction.
Price
So, now that you know what to look for, let's talk about the projector I use and why it has become my favorite of the three I have owned.
-From smartphones to big screens
-Comes w/ HDMI & Micro USB Cables for Hookup to Camera, Storage Drive, PC, Laptop
-60 Ansi lumen brightness LED Lamp
-Powers Via Rechargeable Battery Up to 2.5 Hrs.
You don't need to spend a fortune on a projector for cookie decorating. The goal isn't to buy the most expensive projector you can find. It's to find one with the features that actually matter for the way you decorate.
So, now that you know what to look for, let's talk about the projector I use, why it works so well for my cookie decorating setup, and why it has become my favorite of the three I own.
My Projector for Cookie Decorating
I've owned three different projectors for cookie decorating, and I've used all three. The original PICO (poor thing gave up the ghost after thousands of cookies), the PICO+ (still going strong), and the KODAK LUMA.
So, let me introduce you to the projector that gets by far the most attention on my decorating table. Actually, it's the ONLY one on my work table now.
The KODAK Luma 150.
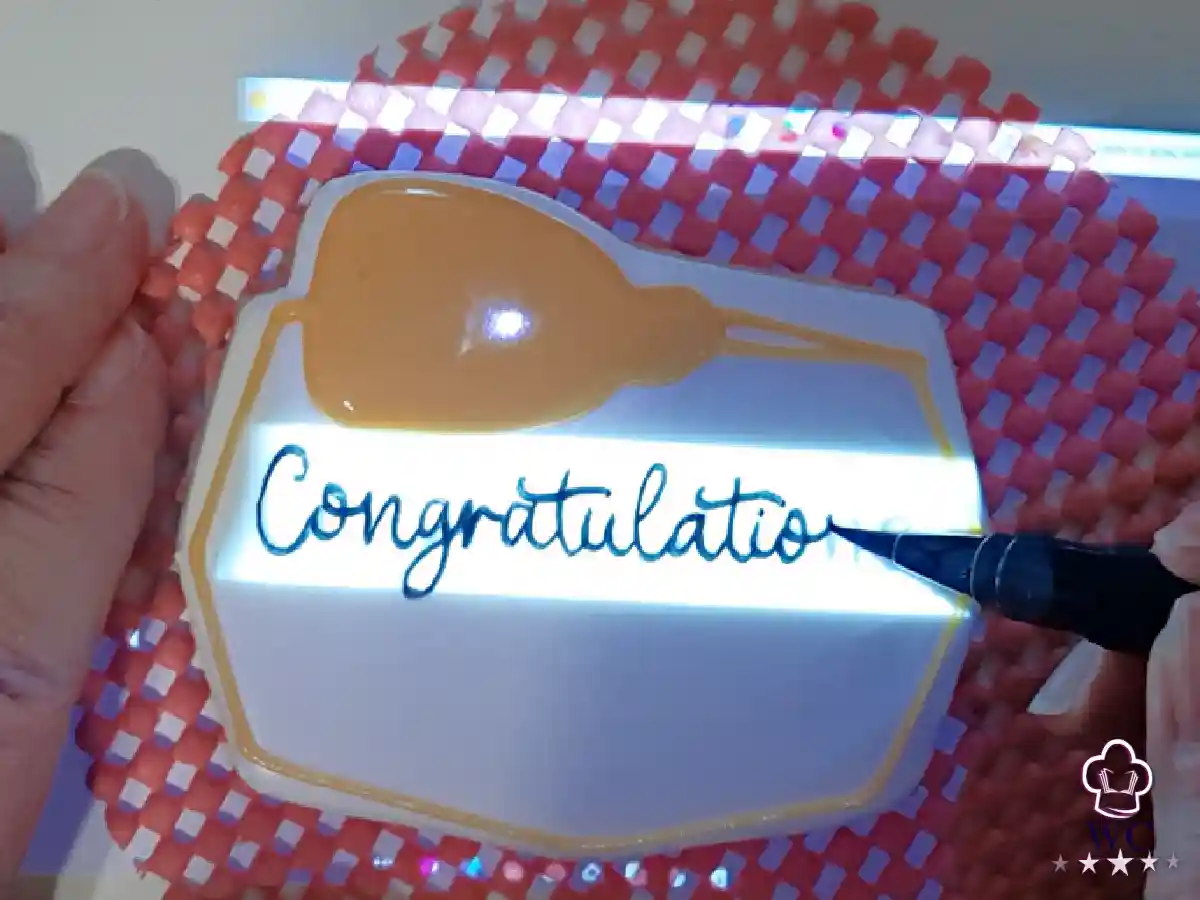
I've used this projector for lettering, detailed designs, logos, and making multiples of the same cookie. After using it over and over, I know exactly what I like about it—and what makes me reach for it instead of my (still-alive) projector.
There are cookiers who have to have the fanciest and most expensive projector. For me, it's all about having one that works well for me as the Head Cookie Wrangler, Cookie Whisperer, or whatever I decide to call myself that day.
Seriously though…
… this KODAK Luma has some pretty remarkable things going for it. When I first put it to the test, I was gob-smacked. The bright projection, the sound when I play music (quite robust!), and the crystal clarity of the images were all things I fell in love with. Not to mention, it's sleek, modern, and beautiful in that rose gold. Oh, and hey, you don’t even have to worry about how to set it up. I just plugged it in, and it was ready. Really, it was that simple!
Size
Remember when I mentioned the size? It doesn't take over my decorating table, which is important because, as you've already learned, I have plenty of things competing for space on that table.
It fits nicely into my setup and stays where I need it without becoming another obstacle. It sits smack-dab right in the middle, between my cookie sheet and laptop.
Brightness
Brightness is another big reason I like this projector. Remember, my work table sits in front of two large windows, so my decorating space gets plenty of natural light.
Even with all that light coming into the room, I can clearly see the projected design on my cookie. That's important to me because I don't want to rearrange my entire workspace just to make my projector usable.
I decorate cookies daily. I can keep the overhead room light on or off, and the projection is still bright and clear. At night, I actually keep my overhead light on because this little thing is REALLY bright.
Focus
The focus is another reason this projector and I have a solid relationship. I rarely—actually, never—have to deal with it (he likes it like that).
And if I did need to adjust it (it wouldn't mind too much), it's simple enough that it wouldn't send me running for the owner's manual.
Throw Distance
This is where the projector really works so well for a cookie decorating table. I don't need to put it across the room to get the image size I need.
I can position it close to my work area and get the design positioned where I want it on the cookie. I have it positioned to stay about 18" from my work surface.
Battery Life
I've used this projector both on battery power and plugged in. Since mine has a permanent spot on my decorating table, I usually keep it plugged in.
But when I do need the battery, it gives me approximately 2½ to 3 hours of working time. For me, that is plenty of time for most of my decorating sessions. The manufacturer states it has a 2½-hour battery life. So that's pretty good when it lasts 3 hours!
Connectivity
I primarily use my laptop with this projector, and I want that connection to be simple. I don't want to spend 20 minutes fighting with technology before I can decorate a cookie.
Since my phone is usually busy recording videos, using my laptop works much better for my setup.
I either plug the HDMI cable into my laptop or simply let the wireless do its thing. Easy peasy!
Adjustability & Mounting
Being able to position the projector exactly where I need it makes a big difference. I can adjust the image and position the projector so the design lines up with the cookie without having to completely rearrange my workspace.
I also have a mounting setup that works well for me, so once everything is positioned, I don't have to constantly move it around.
I have an entire page about the different kinds of mounting capabilities here: Mini Projector Mount. Right now, I'm using my old standby frame-style mount. It works great.
The Big Reasons I Keep Reaching for It
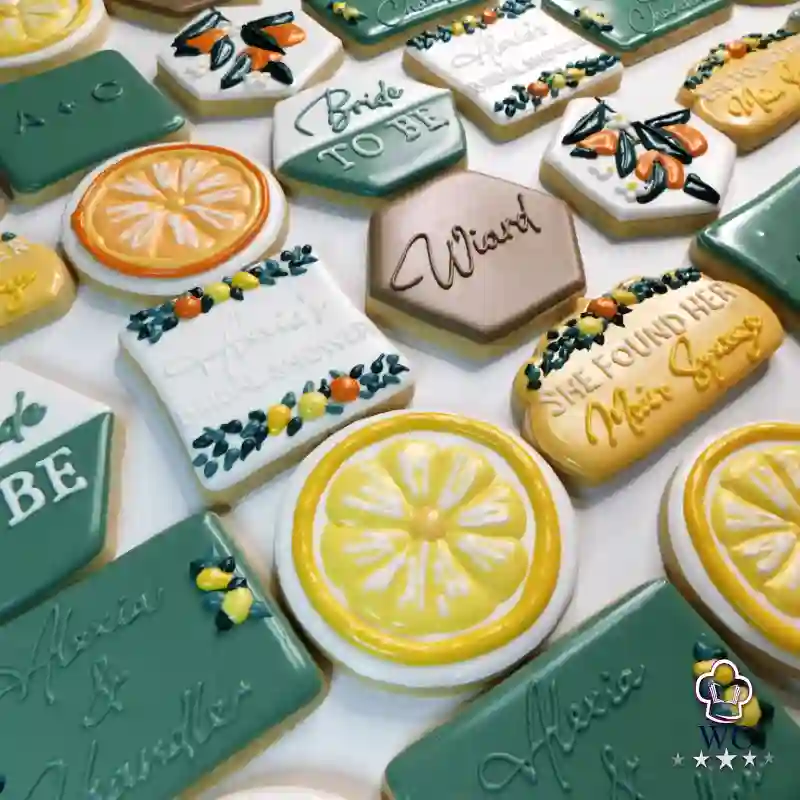
After using three different projectors, I've learned that the little things matter. I want one that is bright enough for my workspace, easy to position, simple to connect, has good, strong sound, and doesn't make me think about the technology while I'm trying to decorate.
That's really why this one has become my favorite. It does what I need it to do and then gets out of my way (literally).
And honestly, that's exactly what I want from a cookie-decorating tool.
Want to take a closer look at the projector I use?
You can find it here:
-From smartphones to big screens
-Comes w/ HDMI & Micro USB Cables for Hookup to Camera, Storage Drive, PC, Laptop
-60 Ansi lumen brightness LED Lamp
-Powers Via Rechargeable Battery Up to 2.5 Hrs.
See the KODAK LUMA 150 in Action
How to Use a Projector for Cookies
Once you have your projector and cookie ready, using a projector is simple. The only little trick is getting everything positioned before you start decorating. Once you have the cookie and projected image lined up, the projector does the guiding, and you get to do the fun part.
Hey cookie, are you ready?
1. Get Your Cookie Ready
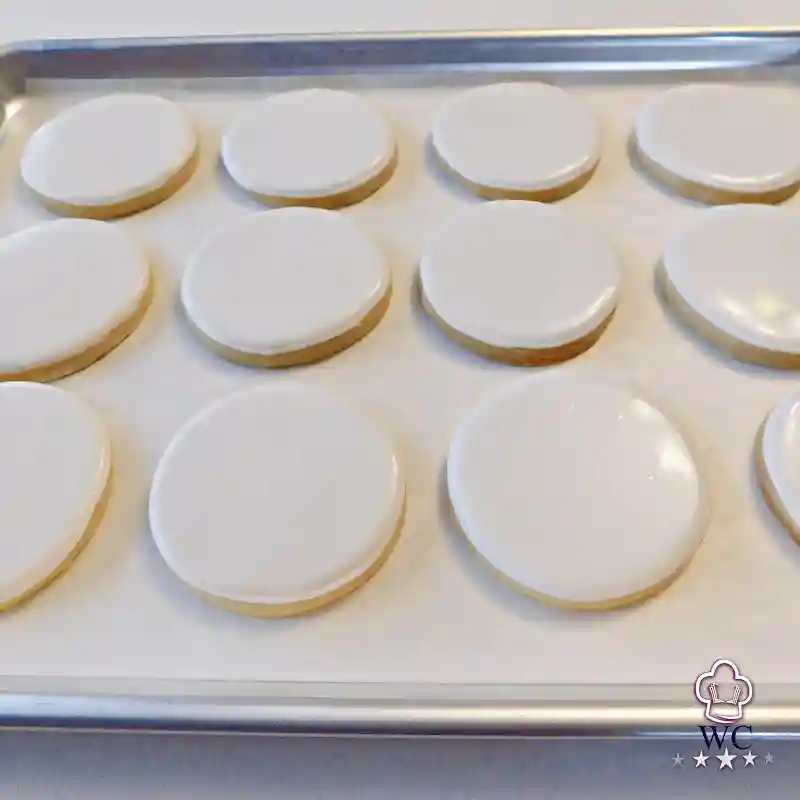
Start with a cookie that has been flooded and is completely crusted and ready to work on. You do not want the royal icing completely dry, just crusted. Having it completely dry can contribute to color bleed.
Place your cookie on a stable surface where it won't shift around while you're decorating. I always use a rubber mat, silicone pad, or shelf liner. If the cookie moves, your projected design moves with it, and that can make things interesting very quickly. Might as well save your “Ah, spit” remarks for more important things!
2. Choose Your Design
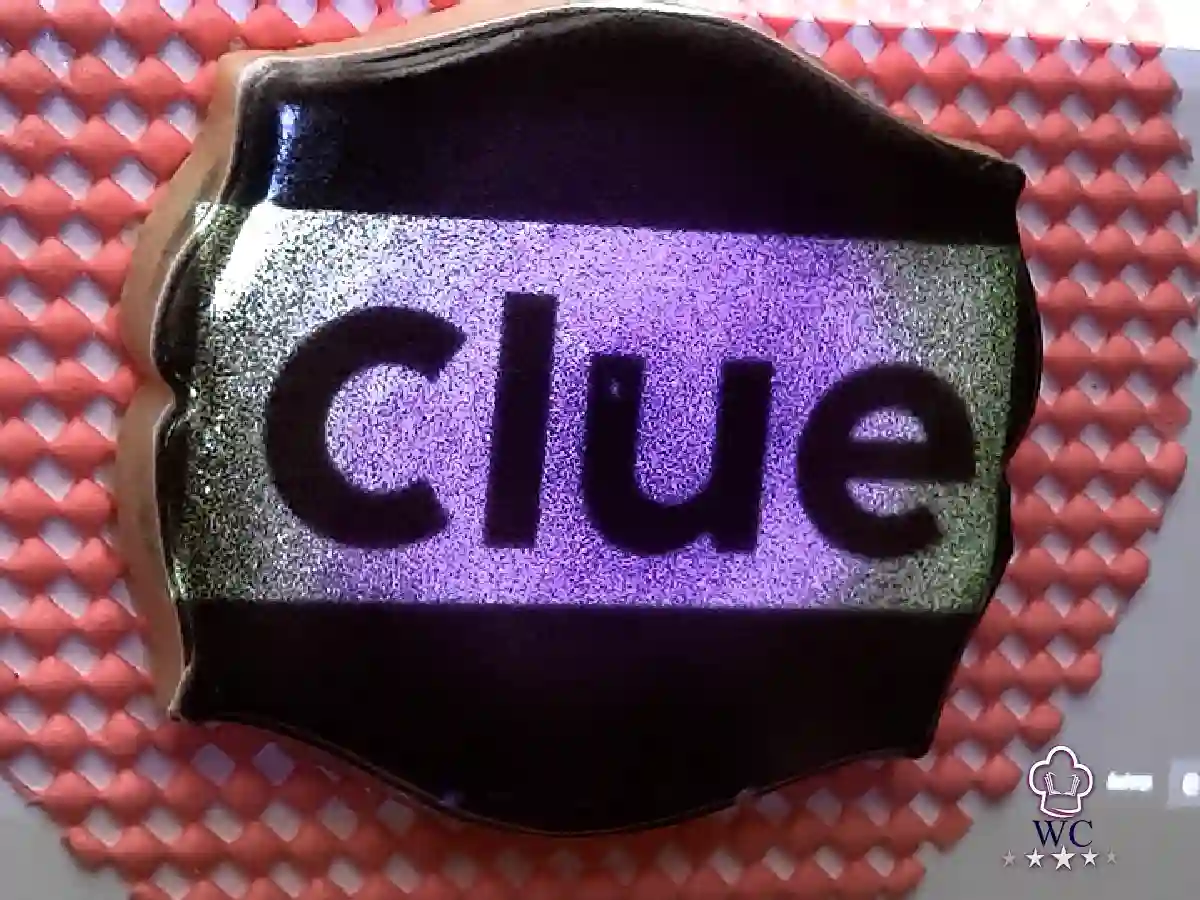
Have the design you want to use ready on the device you're using with your projector.
This can be a design you've created yourself, lettering, a logo, or just about any image you'd like to use as your decorating guide.
Before you begin, make sure the image is oriented correctly and sized appropriately for your cookie.
3. Position the Projector
Position the projector so the image lands directly where you want it on the cookie.
This is where having a good mounting setup can make life much easier, like the ones we talked about earlier. Once you have your projector in its usual position, you can make small adjustments to the cookie or the projected image if you need to, instead of constantly moving the projector itself.
4. Adjust the Image
Now adjust the projected image until the size, position, and focus are where you want them.
Depending on your projector, you may have controls for image size, focus, keystone correction, or other adjustments.
You want a clear image that lines up with your cookie. Fortunately, once you get everything set up the first time, you rarely need to make adjustments for your cookies going forward.
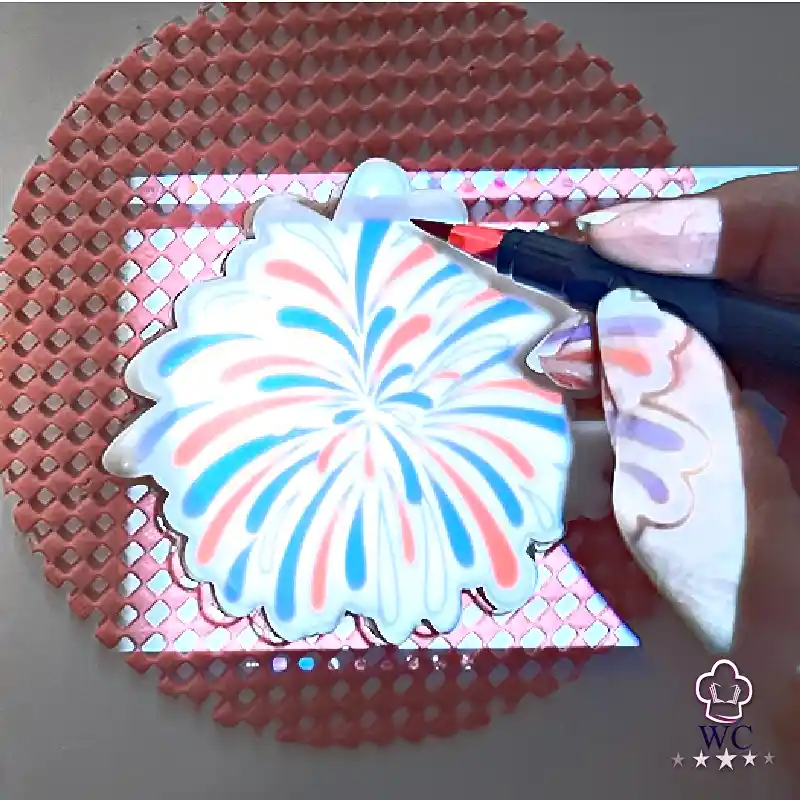
5. Start Decorating
Once everything is lined up, guess what? It's time to decorate! Yay!
You can use a food-color marker to transfer or trace parts of the design, or you can pipe directly while following the projected image.
The projector is giving you the roadmap. You are still the decorator. It’s rather like cruise control in a vehicle. You set it. It guides your speed. But you still need to drive the car.
Your responsibilities are the things you learn, like icing consistency, pressure, piping technique, and all those other little things that make a cookie look like a cookie instead of a science experiment.
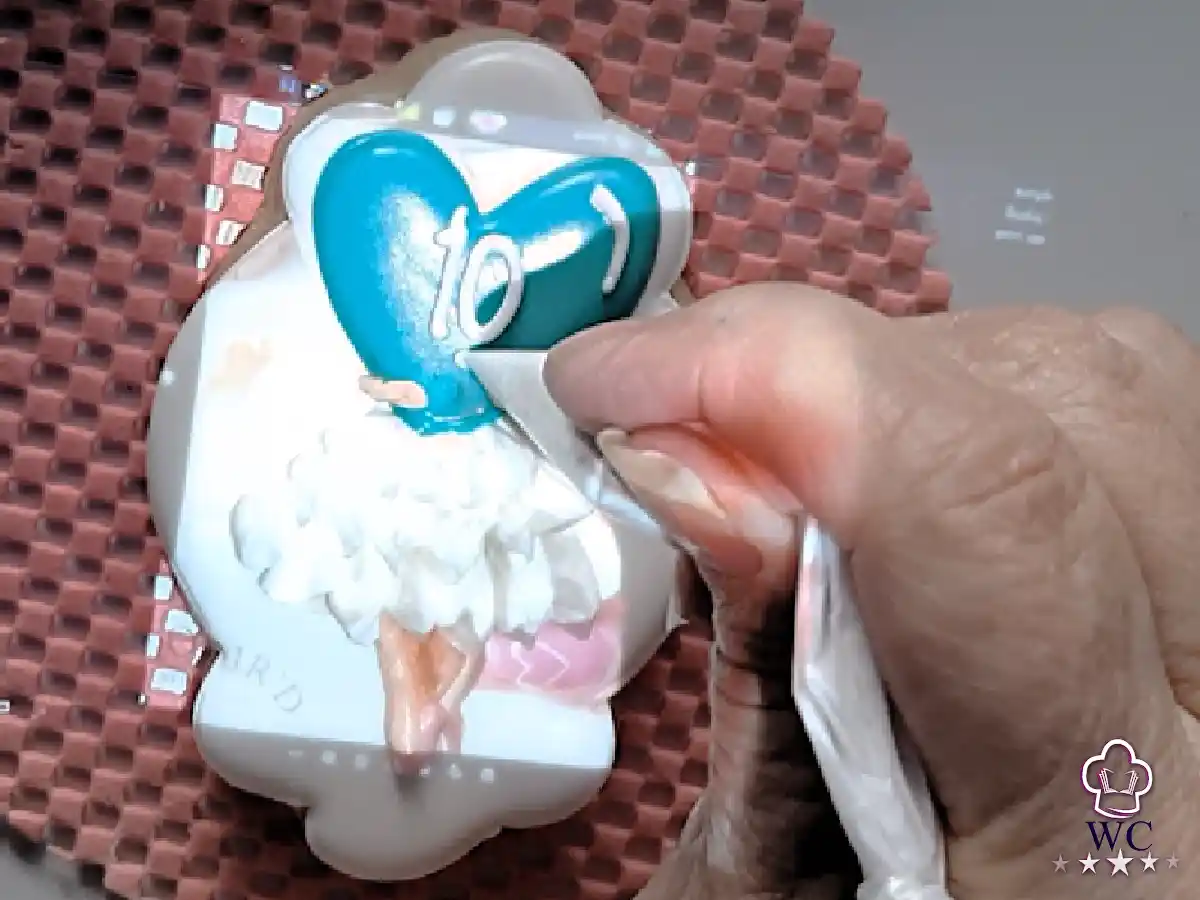

6. Check Your Placement Before You Pipe
Before you commit to icing, take a second look at the whole cookie.
Is the design centered? Is the size right? Is everything where you want it? Are any important details too close to the edge? Do a double-check! You will thank yourself!
There have been times when I've barely caught myself before making a terrible mistake.
Thinking a projector might make your decorating life a little easier? You can see the one I use here.
Here is the one I use.
My Biggest Tip: Once It's Lined Up, Don't Move It!
Once your projector and cookie are positioned exactly where you want them, don’t touch.
Don't bump the cookie. Don't casually move the projector. Don't decide to scoot everything six inches to the left because suddenly that seems like a better idea.
If something does move, stop and realign everything before you continue decorating.
A projector can give you a beautifully accurate guide, but it can't tell that your cookie has moved underneath it.
That's your job. 😁
Pro Tip: To prevent mistakes, I always keep an eye on where the cookie is compared to the projected image, just in case the table gets bumped.
Tips for Using a Projector on Cookies
Once you've used a projector a few times, you'll figure out what works best for your setup. Here are a few things I've learned along the way that could make the process even easier for you.
So, listen up:
Keep the Projector in the Same Spot
If at all possible, try to find a spot that is solely for projecting, preferably as part of your regular decorating setup. This will help keep you from constantly moving it around. Let's streamline our work where we can.
Dark vs. Light Icing
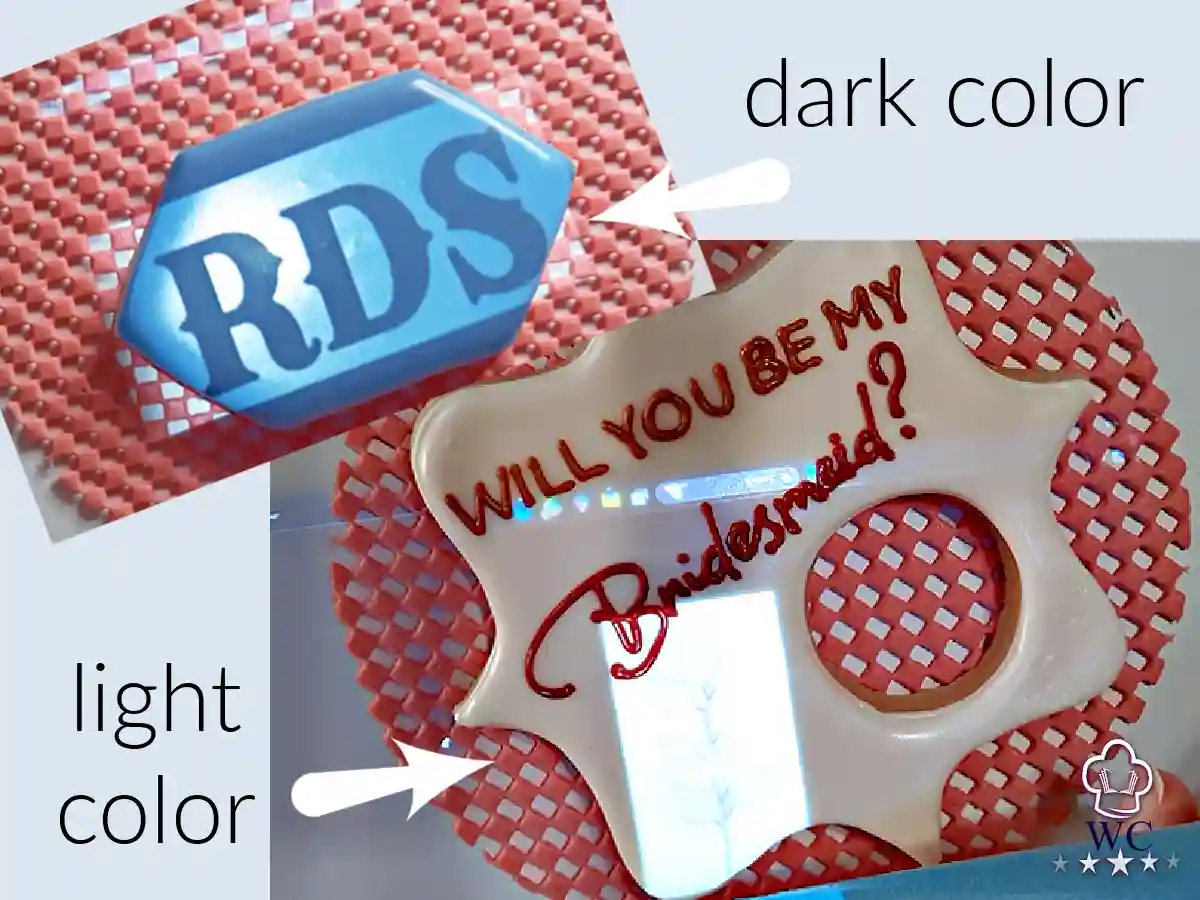
Some projectors' lumens are night-and-day bright. In other words, the brighter your decorating space, the more important projector brightness becomes. In a well-lit room, a dimmer projector can make the projected image harder to see. Some cookiers actually work in a darker room with the projector as their main source of light for this very reason.
The color of your icing matters, too. Some colors, like white and light blue, are naturally harder to see a projected image on. This is another reason I recommend choosing a projector with good brightness. I look for at least 60 ANSI lumens with an LED lamp.
Lettering Is Where a Projector Really Shines

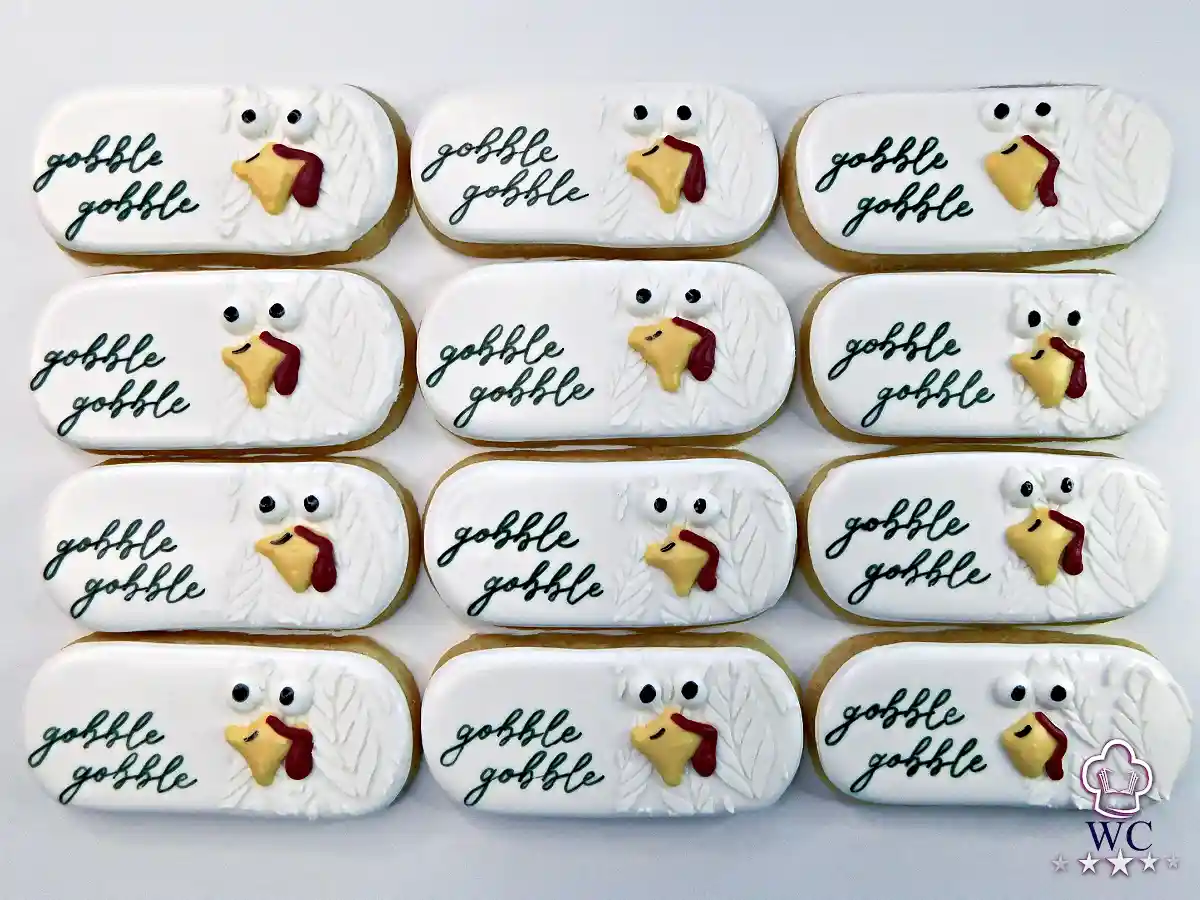
I'll give you a great pro tip (no, not a decorating nozzle) that I had to learn. Just because there are a gazillion fonts out there doesn't mean you'll be able to use every one.
Why?
Narrow fonts and thin lines do not get along so well with royal icing. Even the smallest nozzle tip is still bigger than what a pen or pencil can write. And even the thickest icing will spread a little.
Choose a font where the letters have thicker lines, and you're setting yourself up for success. Trust me on this; I had to learn, too!
Making Multiples
Isn't consistency lovely? That's one of the main reasons I bought the KODAK Luma. When you want the cookies to all look like they came from the same set, a projector is boss.
When I have the same design on multiple cookies, I line them all up and have them ready to grab. I keep my tray, cookie turntable, and projector in the same spot. This helps me work much faster and saves the battery on the projector.
Another thing that helps is doing the same lettering or design element on each cookie before moving on to the next part. For instance, if there are balloons and a Happy Birthday on each cookie, I'll pipe all of the balloons first, then go back and pipe the wording.
Don't Rush the Setup
We all get hurried. I get it. But doing the setup is important, so take your time.
I use PicMonkey all the time (for those who prefer it, go for Canva). I do all of my setup in an image. I open a canvas, place and center the words, and add an image if I'm using one. I save it to my desktop.
Then I have nothing to do but line the cookie up under the projector. I mentioned easy-peasy before, right?
Use It as a Guide, Not a Crutch
Above all, the projector gives you the design, but you still need to understand your icing, pressure, line weight, spacing, etc.
It took me several years before I purchased a projector. I simply felt it was cheating. I would say to myself, “I'm an artist. Why would I need that crutch?” (I AM blessed with being a pretty doggone good artist.) I looked at other cookiers who used them as though they must not be very good without them.
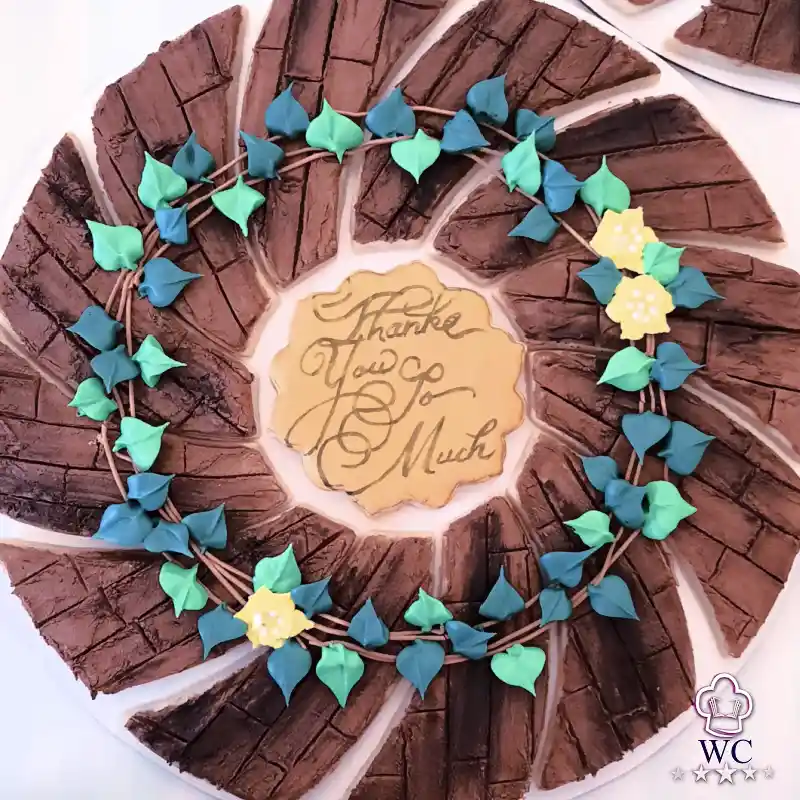
I had a very large 2,000-cookie order come in. A simple logo, but it HAD to be the same across all the cookies. I bought a projector thinking it would save me time on this rushed order.
Well...
I was right; it did save me loads of time.
Something else happened.
I realized how beautiful they turned out because they all looked the same! I knew at that moment that if I had piped them freehand, which I could have, they wouldn't have looked nearly as professional.
I fell in love at that moment. 💞
If you're ready to compare different projectors, I've put together a separate guide to help you find the one that's right for you:
Cookie Projector FAQs
Can You Use a Projector on Royal Icing?
Yes! Royal icing and glaze give you a beautifully smooth surface that works really well with a projected image.
Does the Royal Icing Need to Be Completely Dry?
No. It's best to have the icing nicely crusted. Allowing the icing to dry completely can pull the wet color into it and cause color bleed.
Can You Use a Projector in a Bright Room?
Yes and no. Projectors with higher brightness, like 60 ANSI lumens, can work wonderfully in a bright room. Just pay attention to the brightness when you're comparing projectors to buy.
Will Any Mount for the KODAK Luma 150 Projector Work?
No. A gooseneck mount with a clasp or claw is too narrow to hold the KODAK Luma 150 properly. The simple and inexpensive table-setting frame mount works great.
Can i still buy the PICO?
No. Currently, they are off the market. AAXA has sold out, and we're still waiting to hear whether they will be coming back to the shelves.




“After purchasing a projector, I was able to charge more for my cookies. It made my work that much more professional. For me, a projector is a must!”
Yes! I want join and be a free member. Please send me the WeCookier's Express monthly periodical. It's loaded with cookier information. Get cookie-cutter flips, business tips and hacks, inspo, Q&A, and so much more! You'll be an instant WeCookier!

Recent Articles


-
Projector for Cookies: How to Choose & Use One
Sep 25, 26 08:09 PM
 Learn how to choose and use a projector for cookies with tips from a pro cookie decorator. Make lettering, designs and decorating easier!
-
Sugar Cookies: Learn Decorating and Grow Your Business
Sep 21, 26 01:44 PM
 Learn sugar cookies step by step with recipes, royal icing tips, decorating tutorials, and business guidance to turn your skills into income.
-
Valentine's Day sugar cookies: Red Icing Secrets
Jun 14, 26 08:22 PM
 Valentine's Day sugar cookies made simple with deep red icing tips, cookie cutter flips, design inspiration, and smart ways to sell your sets.